Mastering the Finish: Considerations for Staining
Staining is one of the most transformative parts of woodworking, but it’s also where many projects can go wrong. A botched stain job makes a $3,000 custom table look like a garage sale find.
When a project is finally assembled and sanded, the temptation to rush the finish is intense. The smell of sawdust is in the air, and you just want to see that color pop. However, the finishing stage requires as much patience as the joinery. Here is a deep dive into the critical factors I consider before reaching for a can of stain.
1. The Foundation: Sanding Prep
You cannot stain your way out of a bad sanding job. In fact, stain acts like a highlighter for scratches. It settles into clear imperfections and makes them darker than the surrounding wood, creating ugly, distinctive "sanding swirls."
The Progression: I start with 80 or 100 grit to flatten the panels, then move religiously through 120, 150, 180, and stop at 220 grit. Skipping a grit (e.g., jumping from 120 to 220) leaves deep valleys that the finer paper glides over but never removes.
Water Popping: For darker stains, I often "water pop" the grain. This involves wiping the sanded wood with a damp cloth to raise the grain fibers, then lightly sanding them back. This opens the pores of the wood, allowing it to accept more pigment for a richer, deeper color.
2. Wood Species and The "Blotch" Factor
Every wood species reacts differently to pigment.
- Open-grained woods (Oak, Ash, Walnut): These are stain-friendly. The pigment settles into the deep pores, highlighting the cathedral grain patterns beautifully.
- Close-grained/figured woods (Maple, Cherry, Pine): These are notorious heartbreakers. They have varying densities across the board surface. If you apply a dark liquid stain directly to Pine or Maple, it will absorb unevenly, creating dark, ugly blotches that look like spilled ink.
The solution? For blotch-prone woods, I use a pre-stain wood conditioner or a wash-coat of shellac. This partially seals the thirsty pores, ensuring the stain sits more evenly on the surface.
3. Natural vs. Enhanced
Sometimes, the best stain is no stain at all. High-quality hardwoods like Black Walnut have a natural depth that is often best served by a clear oil or polyurethane finish. Over time, walnut lightens to a golden brown, while cherry deepens to a rich red. Staining them often kills this natural evolution.
I usually recommend staining when we want to match existing furniture in your home or when using a "neutral" wood like White Oak that can take on a variety of tones—from Scandinavian whitewash to dark Espresso—without losing its structural character.
4. Chemistry Class: Oil vs. Water vs. Gel
The type of carrier solvent matters immensely:
- Oil-Based Stains: The industry standard. They offer a long "open time," meaning I can wipe a large table without the stain drying and becoming sticky. They provide deep color penetration.
- Water-Based Stains: Eco-friendly and fast-drying. They are great for small crafts but tricky on large surfaces because they dry so fast. They also raise the grain, requiring de-nibbing (light sanding) between coats.
- Gel Stains: These are thick, like pudding. They don't penetrate as deeply, sitting more on the surface. This makes them *perfect* for difficult woods like Pine or for refreshing vertical surfaces like cabinets where drips are a nightmare.
5. The Environment (The Iowa Factor)
Here in Cedar Rapids, humidity is a major factor. Applying stain on a very humid July day prevents the solvents from evaporating. If you top-coat a stain that hasn't fully cured, the finish will fail—it might stay soft, turn cloudy (blushing), or peel off in sheets later.
I always monitor the shop environment. If the humidity is above 60%, I run dehumidifiers or wait. Patience pays off. A finish that takes 24 hours to cure properly is better than a finish that needs to be stripped and redone next year.
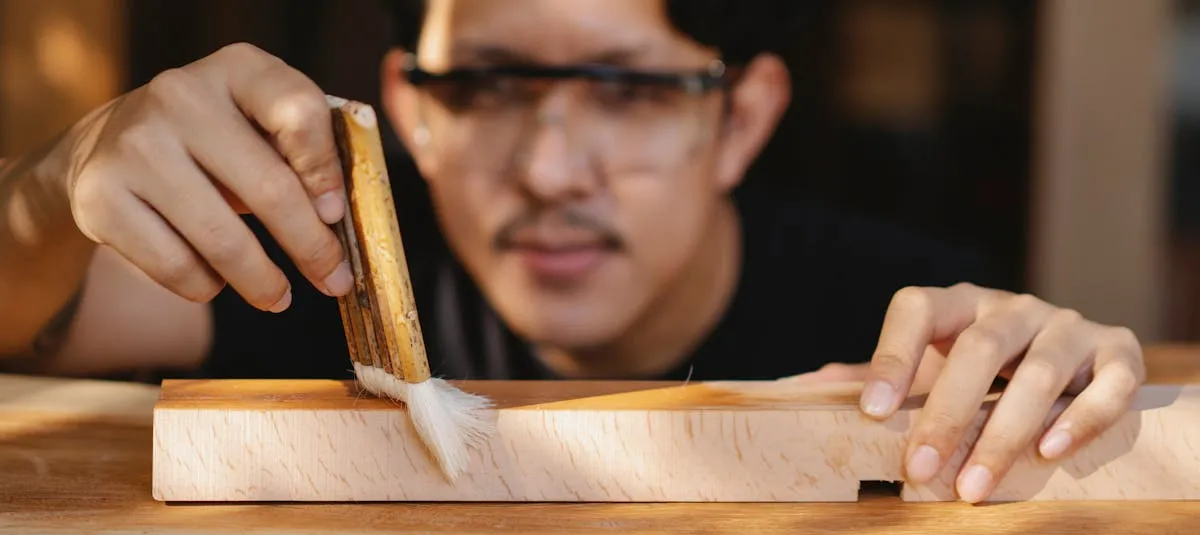
Application Technique
Staining isn't painting. You don't brush it on and leave it. You flood the surface to saturate the wood, let it sit for a specific window (usually 5-15 minutes), and then—this is critical—wipe it all off.
The color comes from what the wood has absorbed, not what is left on top. Leaving excess stain on the surface effectively creates a layer of colored mud that will prevent your protective topcoat from adhering.
The goal of staining isn't to hide the wood—it's to celebrate it. A well-executed finish should draw the eye into the grain, giving it a 3D "chatoyance" that shifts as you walk around the room.
Frequently Asked Questions
Why does my wood stain look blotchy?
Blotching happens when close-grained or figured woods like pine, maple, and cherry absorb stain unevenly due to varying density across the board surface. The fix is to apply a pre-stain wood conditioner or a wash-coat of shellac before staining. This partially seals the thirsty pores so the stain sits more evenly.
Should I sand between coats of stain?
Generally no. You should not sand between coats of stain. However, you should sand lightly between coats of topcoat (polyurethane, lacquer, or varnish) with 320 grit to create tooth for the next coat. Water-based stains may require a light scuff-sand to de-nib raised grain fibers.
What is the difference between oil-based and water-based wood stain?
Oil-based stains have a long open time, making them easier to apply on large surfaces like dining tables. They penetrate deeply and produce rich color. Water-based stains are eco-friendly and fast-drying, but they dry quickly (making large surfaces tricky) and raise the grain, requiring de-nibbing between coats.
What is water popping wood before staining?
Water popping involves wiping sanded wood with a damp cloth to raise the grain fibers, then lightly sanding them back once dry. This opens the wood pores, allowing them to accept more pigment for a richer, deeper stain color. It is especially effective before applying dark stains.
When should I use gel stain instead of liquid stain?
Gel stains are thick and sit on the wood surface rather than penetrating deeply. They are ideal for blotch-prone woods like pine, for vertical surfaces like cabinets where drips are a problem, and for refreshing existing finishes without stripping. They are not the best choice when you want deep pore penetration on open-grained woods.
The Finishing Challenge
Test your knowledge of stains and wood preparation.
Across
- 2 ______ spirits (used for cleaning and testing)
- 4 The natural pattern or direction of wood fibers
- 5 "Grain ______" happens when you use water-based products
Down
- 1 The essential prep step before any finish
- 3 Uneven stain absorption that causes dark spots